Serving Platter #DIY
#ThursdayDIY
You’ve Been Served!
Summertime means longer days, warmer evenings and afternoons spent entertaining. Hosting is (almost) always a good time and it can be even more fun when you have fun decorations, cool yard toys, or unique serving platters.
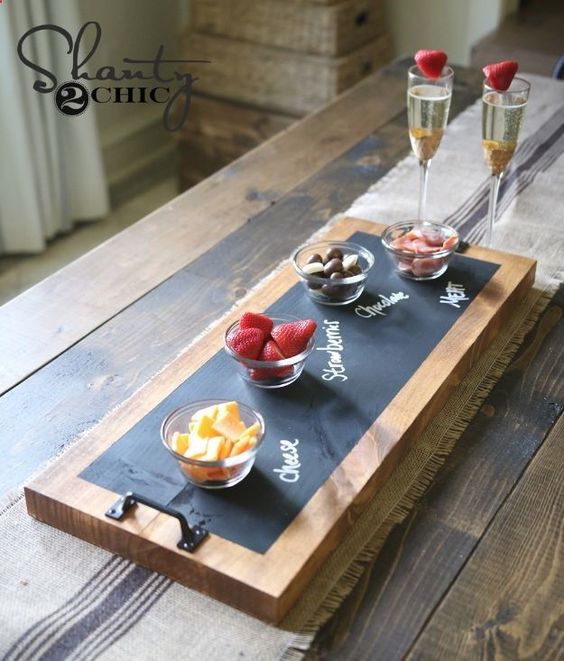
Earlier this week I stumbled across a super simple DIY serving platter. It can easily be used inside, but is durable enough to be used outdoors. Dress it up with wine and cheese or keep thing playful with chocolates and fruit.
Here’s what you need to get started:
- 2 ft Wood Plank -The thicker, the sturdier. I would recommend using a board that’s at least 1in thick.
- 2 Handles & Screws
- Chalkboard Paint
- Blue Painters Tape
- Sandpaper (if you need to sand the board)
The first step is to sand the board. If the wood is already smooth and splinter free, then feel free to skip this step.
Next, using the tape, create a large rectangle across the board. I would suggest leaving about 1.5 inches from the paint line to the edge of the wood.
Now we paint! Paint 2-3 coats of the chalkboard paint inside the portion of the wood that you taped off. Follow the directions on the can for specific information (number or coats, time between coats, etc.)
While the paint is drying, apply your handles. Place them centered on the outside of the painted portion of the wood (see photo).
That’s it! You’re ready to get the party started. Try serving an assortment of nuts and cheeses and labeling them with chalk. This is also really for when you’re doing pairings or for labeling appetizers that cater to specific dietary restrictions.
What do you think? Will you give it a try! If you do, share your photos with us! We would love to see your finished product. ?