DIY Drop-Cloth TeePee
#DIYThursday
Kid-Friendly Playtime TeePee
It seems that more and more every chic playroom and child’s bedroom has an over-priced teepee prominently displayed in the corner of the room. Both whimsical and inviting, these little cloth huts are becoming the go-to reading/coloring/hangout space for children of all ages. So naturally… I want one. Not for me, of course! 😉
Since I don’t want to spend a small fortune on a Pottery Barn Kids TeePee and I have little to no sewing skills – by that I mean I can’t even sew on a button – I found myself in quite the first-world predicament. So, I did something I’m actually good at. I got on Pinterest. I felt like Jasmine exploring a whole new world of no-sew TeePee options. There were several from delicate lace designs to more sturdy outdoor structures. After some searching, I found one that I believe is the perfect medium.
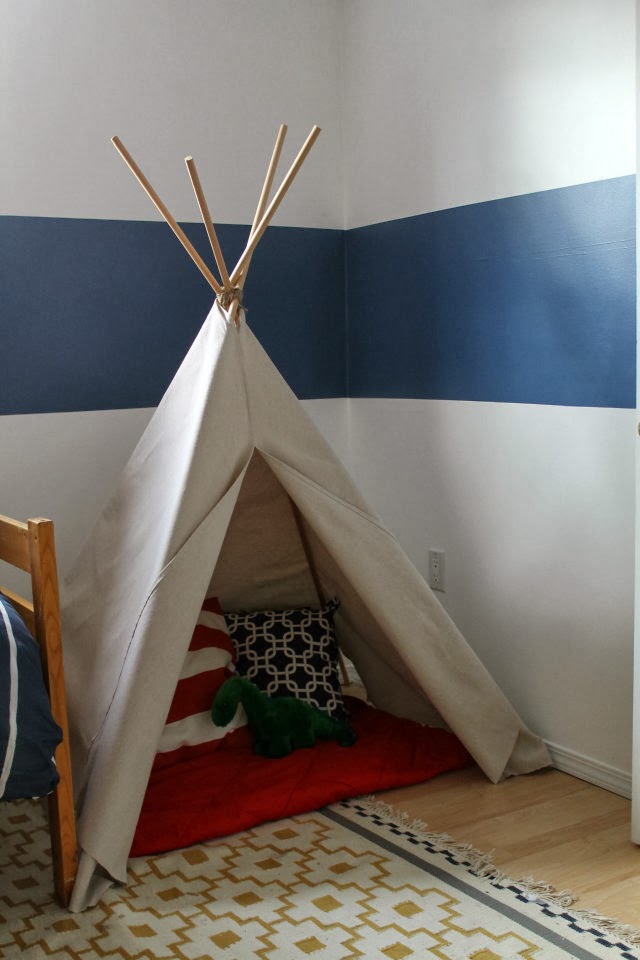
Besides being fairly simple, I also love how versatile this guide is. In the end, your finished product is a sort-of blank canvas for you to customize. If you want something a little more masculine, you can can add dinosaur stencils around the base, or add a feminine touch by hot-gluing some artificial flowers on each side of the entry. It’s really up to you!
To check out the original guide, click HERE. Or continue down below for a quick step-by-step.
Materials:
- 3/4 inch wood poles cut to 6 feet each {although 5 1/2 feet would have sufficed as well)
- rope/twine
- 4′ x 15′ drop cloth
- hot glue gun
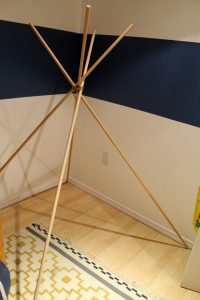
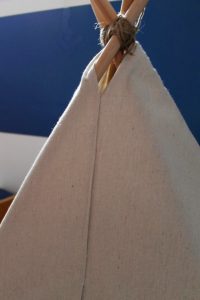
1. I started by tying the string to one of the poles and then lining up the rest of the poles where I wanted and then wrapping and crisscrossing and securing them all together.
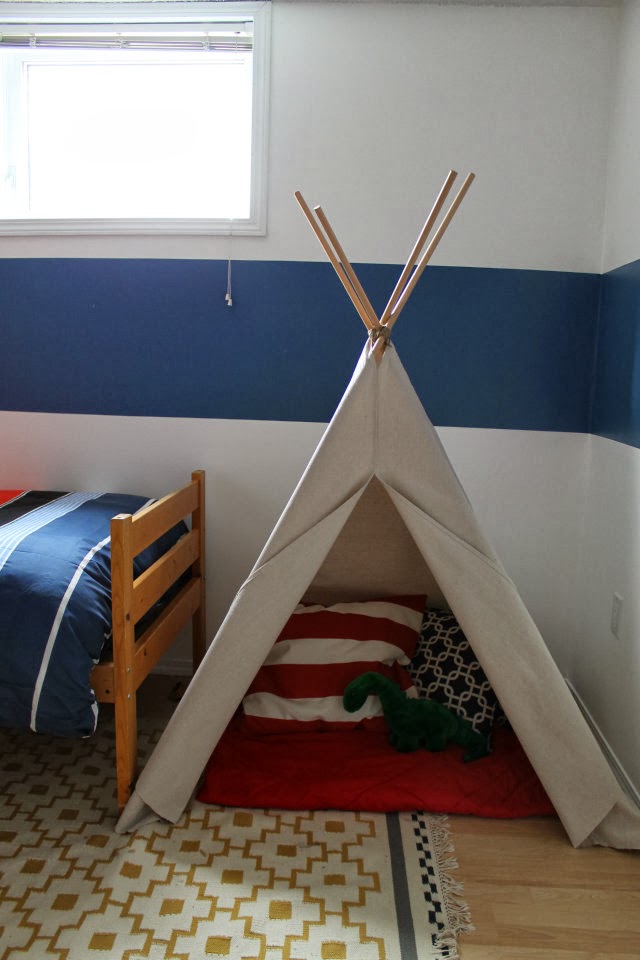
2. After, I draped the drop cloth around the poles. Then I pinned the top together to keep it where it needed to be. Then it was time for HOT GLUE!! At first I thought to sew the top together but I saw my hot glue gun just sitting there and decided to get my glue gunning on! It created a great, no-fuss seam…exactly how I like things. No-fuss!
3. I had a lot off excess on the bottom, so I got my scissors out and trimmed, trimmed, trimmed away. I’m actually pretty surprised with how straight I got it! I’m leaving the edges raw but I think they’ll be fine. Then I took the glue gun again and attached the fabric to the bottom of each leg to keep fabric in place.
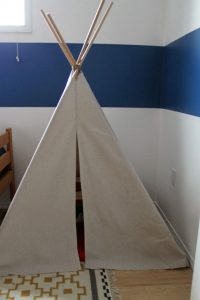
And there we have it! Done…for now!